Say “Ravioli” and what is the first thing that comes to mind? That’s right, those over-sized red, white & green cans with the Chef on the label. They are filled with who-knows-what!
After you prepare this signature dish, you will forever be remembered as the Ravioli King or the Ravioli Queen. It’s that good.
I remember very vividly the afternoons spent at my grandmother‘s house when she would cook. When she cooked ravioli, she would invite her sister-in-law. Neither one of them drove a car, but they lived just about a block apart. They would produce several flat trays of delicious ravioli and freeze most of them. Ravioli freezes well.
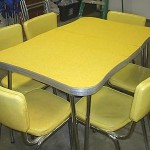 My Nana had two tables in her 20′ x 20′ kitchen. That’s about the size of a double garage. One table was made of fine hardwood and was for the adults. The other table was chrome and yellow Formica like the one pictured here. It was 1950s vintage. I was for just for the kids …. and the ravioli. I remembered days when the flour and wooden rolling pins would be flying across that yellow Formica table. Man!
Everything was home-made. Nana made her own filling, dough-pockets and marinara sauce. Classic Italian herbs such as basil (basilico) and oregano (origano) always came form her garden. She also grew fresh fennel (finocchi) that was used to season the best Italian sausage you can imagine.
I’m proud that my brother, Peter and I were able to write-down her sauce recipe before she passed away. When I use the word “recipe” here, I mean that we got her to make a batch of marinara sauce and stopped her as she entered each ingredient. We measured each one before it entered the dutch oven. It was a little awkward for all of us, but we captured the Holy Grail. We still use her recipe occasionally, when time allows. I still have the original notes written from 25 years ago and will make the “Secret Sauce” available here at 52SundayDinners.com very soon.
Back to the ravioli …
Pasta Ingredients
- 8 Cups – All Purpose Flour
- 10 – Eggs
- 1/2 Cup – Water
Shrimp Ingredients
- 1.5 Pounds – Fresh or Pre-cooked, Peeled & De-veined Shrimp
- 1 Teaspoon – Salt
- 2 Tablespoons – Extra Virgin Olive Oil
- 1 Tablespoon – Butter
- 2 Teaspoons – Dried Italian Seasoning
- 3 – Large Cloves of Garlic
Filling Ingredients
- 1/3 Cup – Ricotta Cheese
- 1/3 Cup – Grated Parmesan Cheese
- 2 – Eggs
- 1 Teaspoon – Salt
- 1/2 Teaspoon – Finely Ground Pepper
Sauce Ingredients
- 2 Cups – Your favorite prepared sauce. Sorry Nana. I’ll post your “Secret Sauce” recipe soon.
- 1 Cup – Heavy Cream
- 1 Tablespoon – Extra Virgin Olive Oil
- 1/4 Cup – White Wine
- 1 Clove -Garlic, Minced
Garnish
1/4 Cup of Fresh Basil Leaves
Preparation
- Begin by preparing the pasta.
- There are two way to make the basic pasta.
- METHOD 1 – Place flour on the countertop. Create a “bowl” in the center of the flour and add the eggs to the center. Incorporate the the flour into the eggs until it is monolithic. Kneed for a minute or two. Add water if necessary.
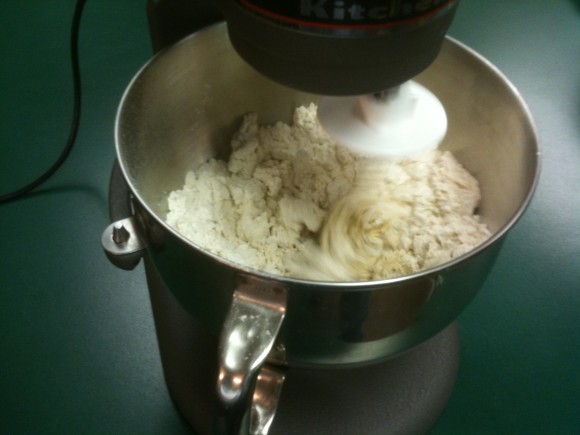
- Method 2 – Cut recipe in half. The following ingredients are easily batched by using 4 cups of flour, 5 eggs and 1/4 cup of water. Place ingredients in 5 – 6 quart mixer and blend until the mixture is firm and monolithic. Add water only if your mix requires it.
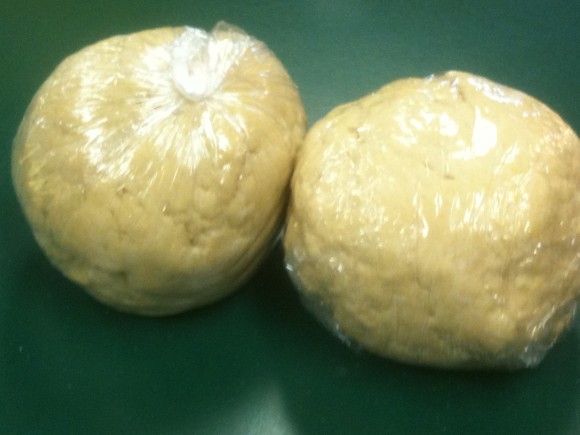
- Wrap the one or two balls in plastic wrap and refrigerate until you are finished with the filling and shrimp preparation.
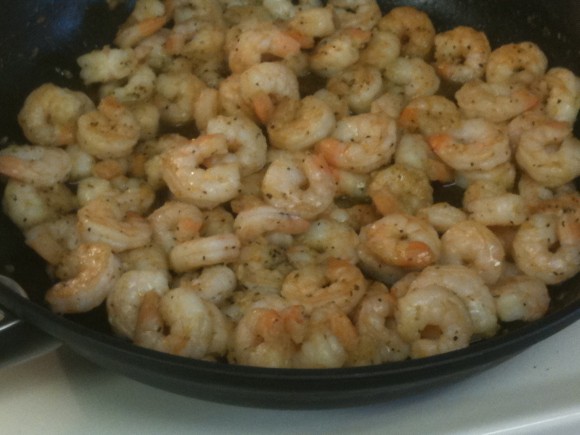
- Saute shrimp Salt, Extra Virgin Olive Oil, Butter, Dried Italian Seasoning and Minced Garlic. I usually use pre-cooked shrimp and saute for 3 minutes on low to blend the flavors. Fresh Shrimp will take slightly longer.
- Allow shrimp mixture to cool.
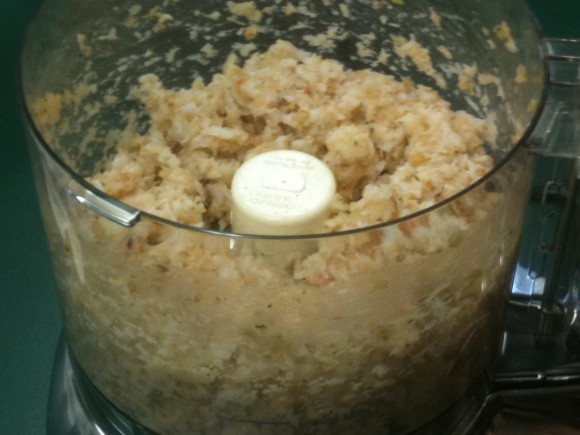
- Rough-chop shrimp mixture in food processor.
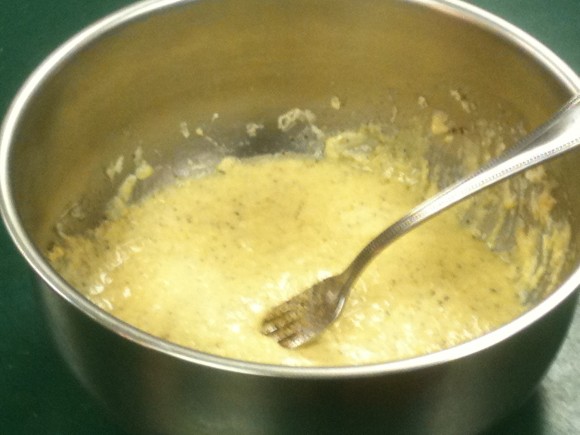
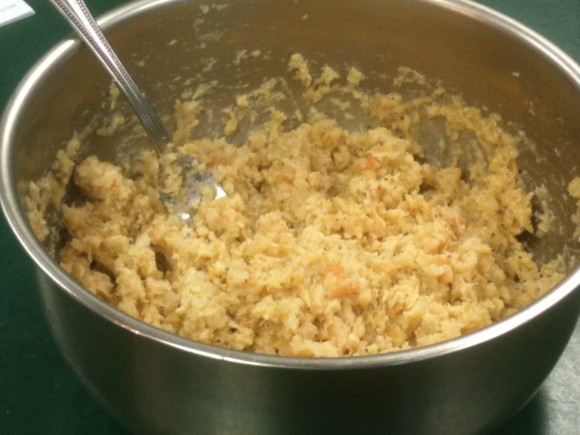
- Combine Shrimp mixture and filling ingredients.
- Refrigerate combined mixture
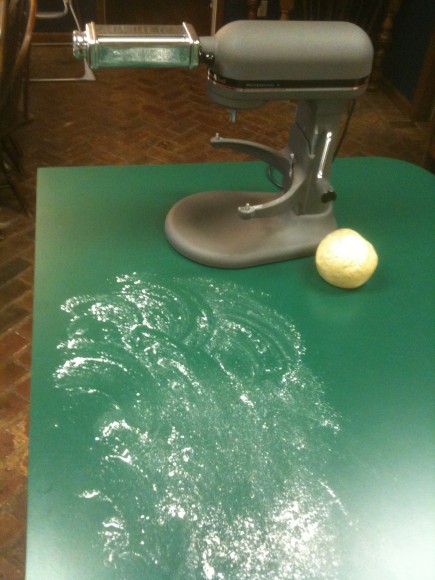
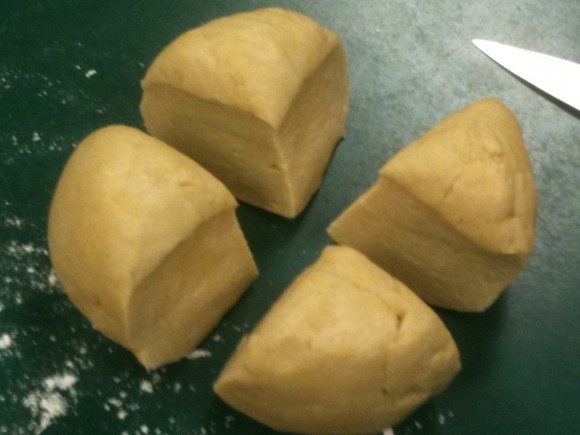
- Begin pasta forming by cutting 4 cup mixtures into 4 parts. Keep your working surface dusted with all-purpose flour to prevent the pasta from sticking to the countertop or pasta attachment.
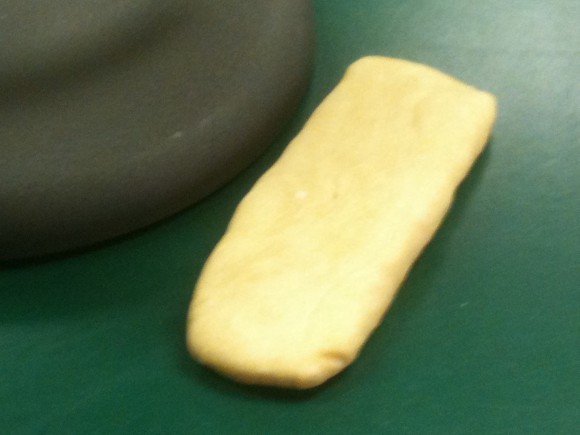
- Form each pasta segment into a thin rectangle. Run through the pasta maker’s widest setting.
- Reduce the thickness with each pass until the thinnest setting is achieved.
- Place the pasta sheets on your counter-top, or extra table (like Nana had.)
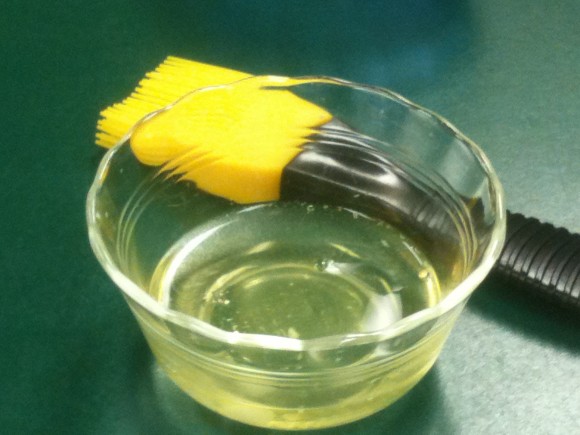
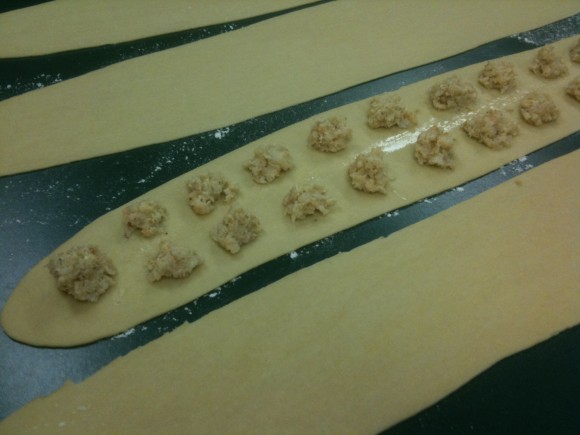
- Coat the entire face with egg-wash, a 50/50 mixture of egg-whites and water.
- Begin to place the filling on one side. Each Ravioli should contain about 1 teaspoon of shrimp filling. There’s not worthwhile automated process for this. It’s a labor of love, however.
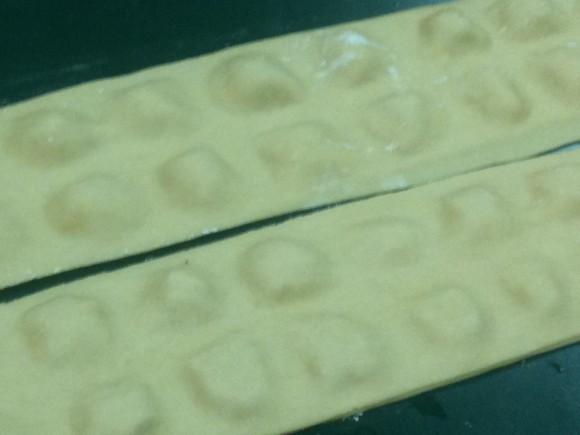
- Top with a similar sized section of pasta and seal with your fingers. Make sure all air excess air is removed.
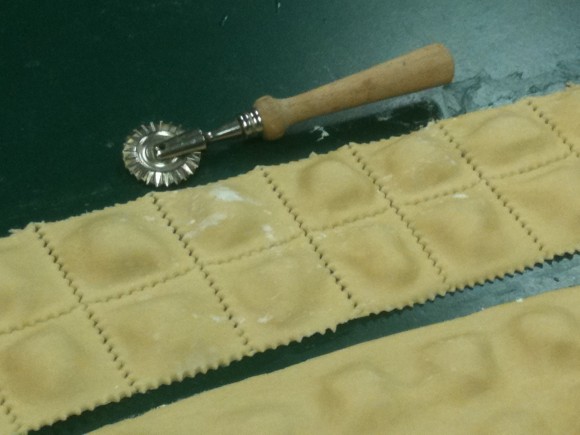
- Cut the pasta with a zig-zag cutter. Recycle the excess pasta pieces, if needed.
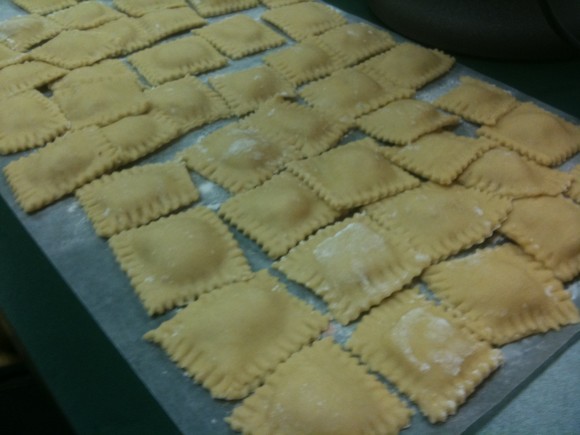
- Crimp edges of each ravioli with a form to seal the edges.
- Again, make sure your stored pasta is on a flour covered countertop.
- Boil Ravioli in salted water in a large pot or Dutch oven with a little Extra Virgin Olive Oil to prevent sticking. Since the pasta is fresh and not dried it will cook quickly. You can cook half or your batch, remove the ravioli, keeping the water hot and add the second batch.
- Place pasta sauce ingredients in a skillet and heat until cream is to your liking. This will take just a few minutes on low heat. Please ensure that the cream does not burn.
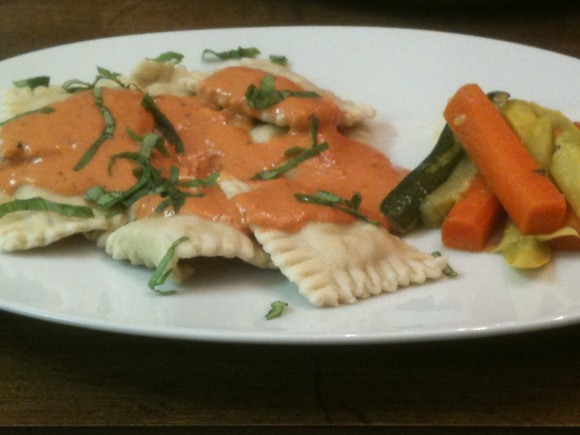
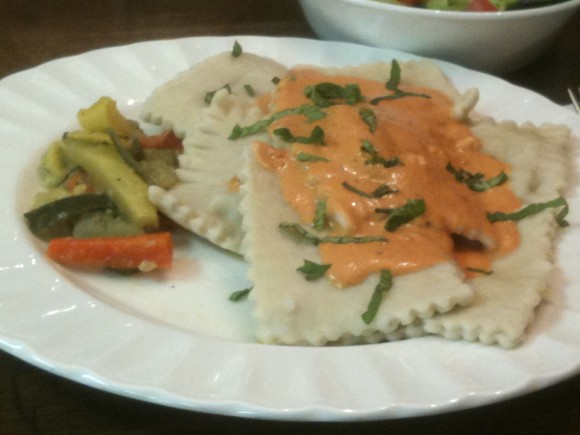
- Serve sauce over the ravioli and garnish with strips of fresh Basil. Leaves may be thinly cut by tightly rolled then leaves and sliced with a sharp knife.
Feeds 8 adults and houseful of hungry kids. Kids love this meal, just as I did when I got to help my Nana.
Enjoy!

Speak Your Mind